403 Forbidden
ERR_WEB_NGX_403

You will love the charm of a Victorian fireplace if you're anything like us at Direct Fireplaces. The grandeur, the elegance – it transports you right back to an era where class and sophistication were the order of the day, every day.
The Victorians did know how to build solid homes – and in the UK, we've got plenty of houses still standing from that era – many with the original features, including the fireplace, intact! But what if your antique, original fireplace is hidden away behind decades of plaster and paint in your home?
Finding an original Victorian fireplace in your home is like finding a buried treasure – albeit one that might need some elbow grease to get it shining again. But is it possible? Absolutely! Let's explore how to bring your original Victorian fireplace back to life.
The Victorian era, named after Queen Victoria, stretched from 1837 to 1901. It's a period known for its architectural and artistic flamboyance. Amidst all the societal and technological changes that took place at the time, the design and function of the humble fireplace were also transformed.
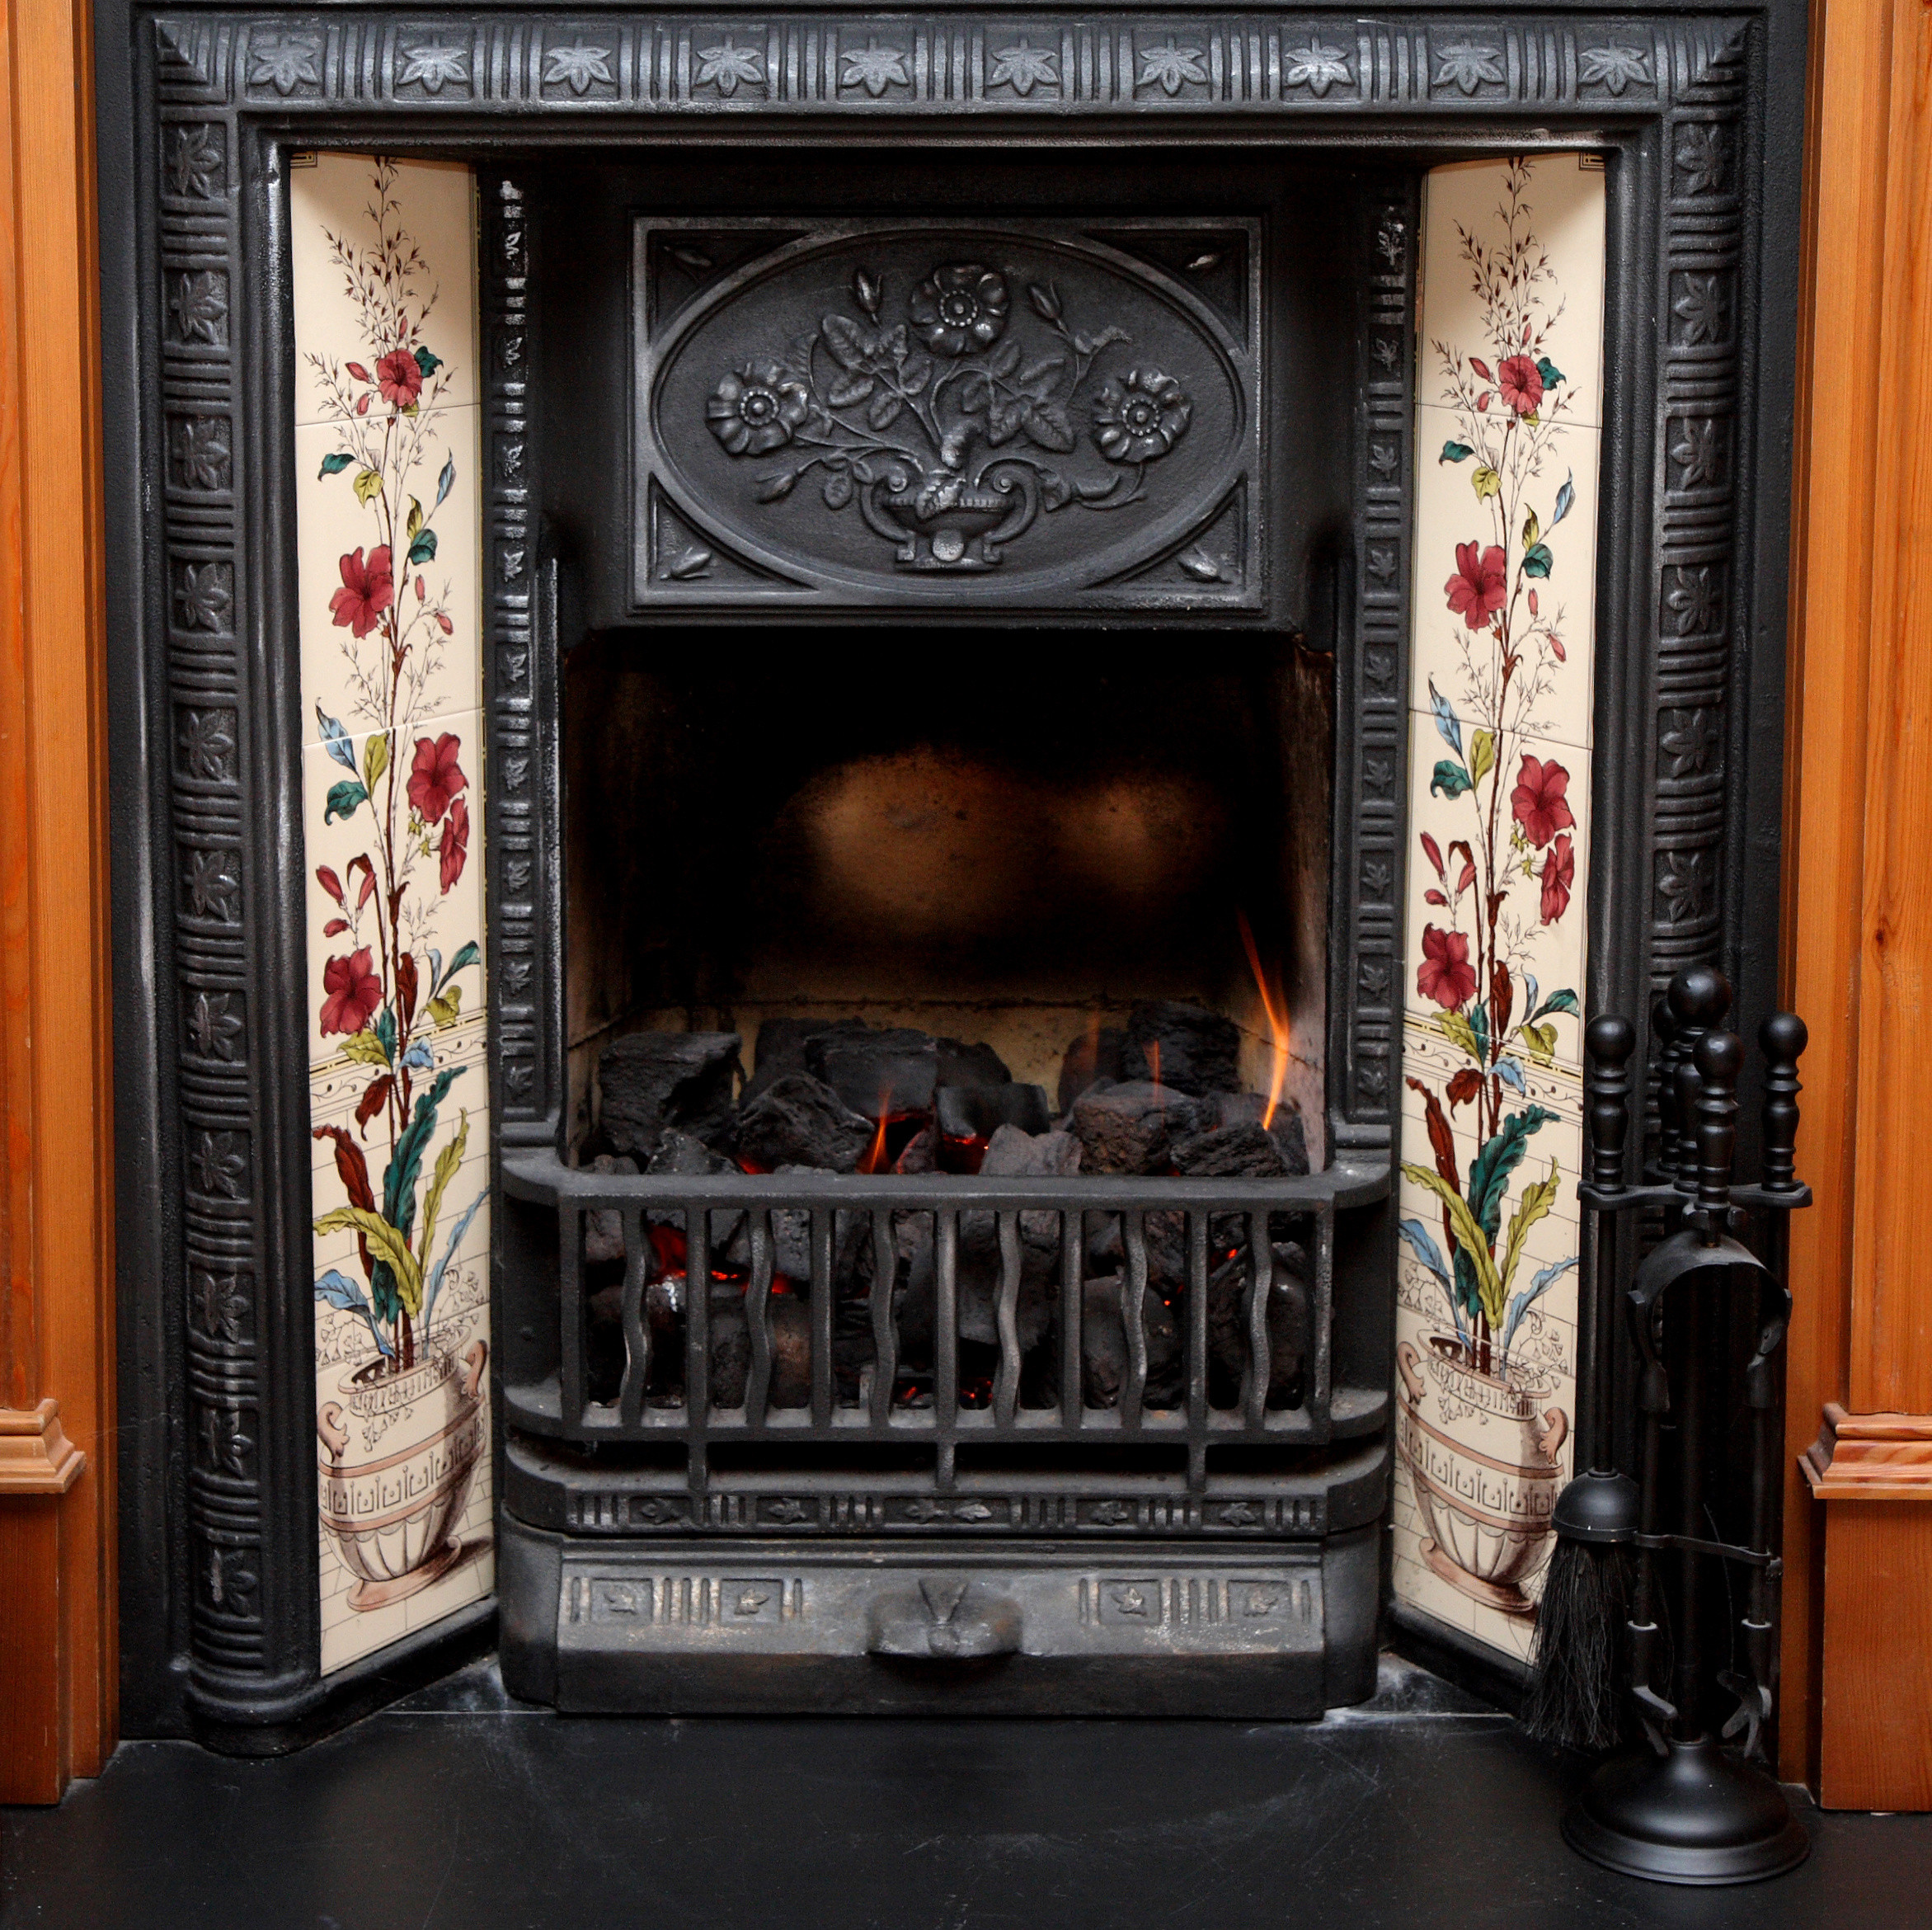
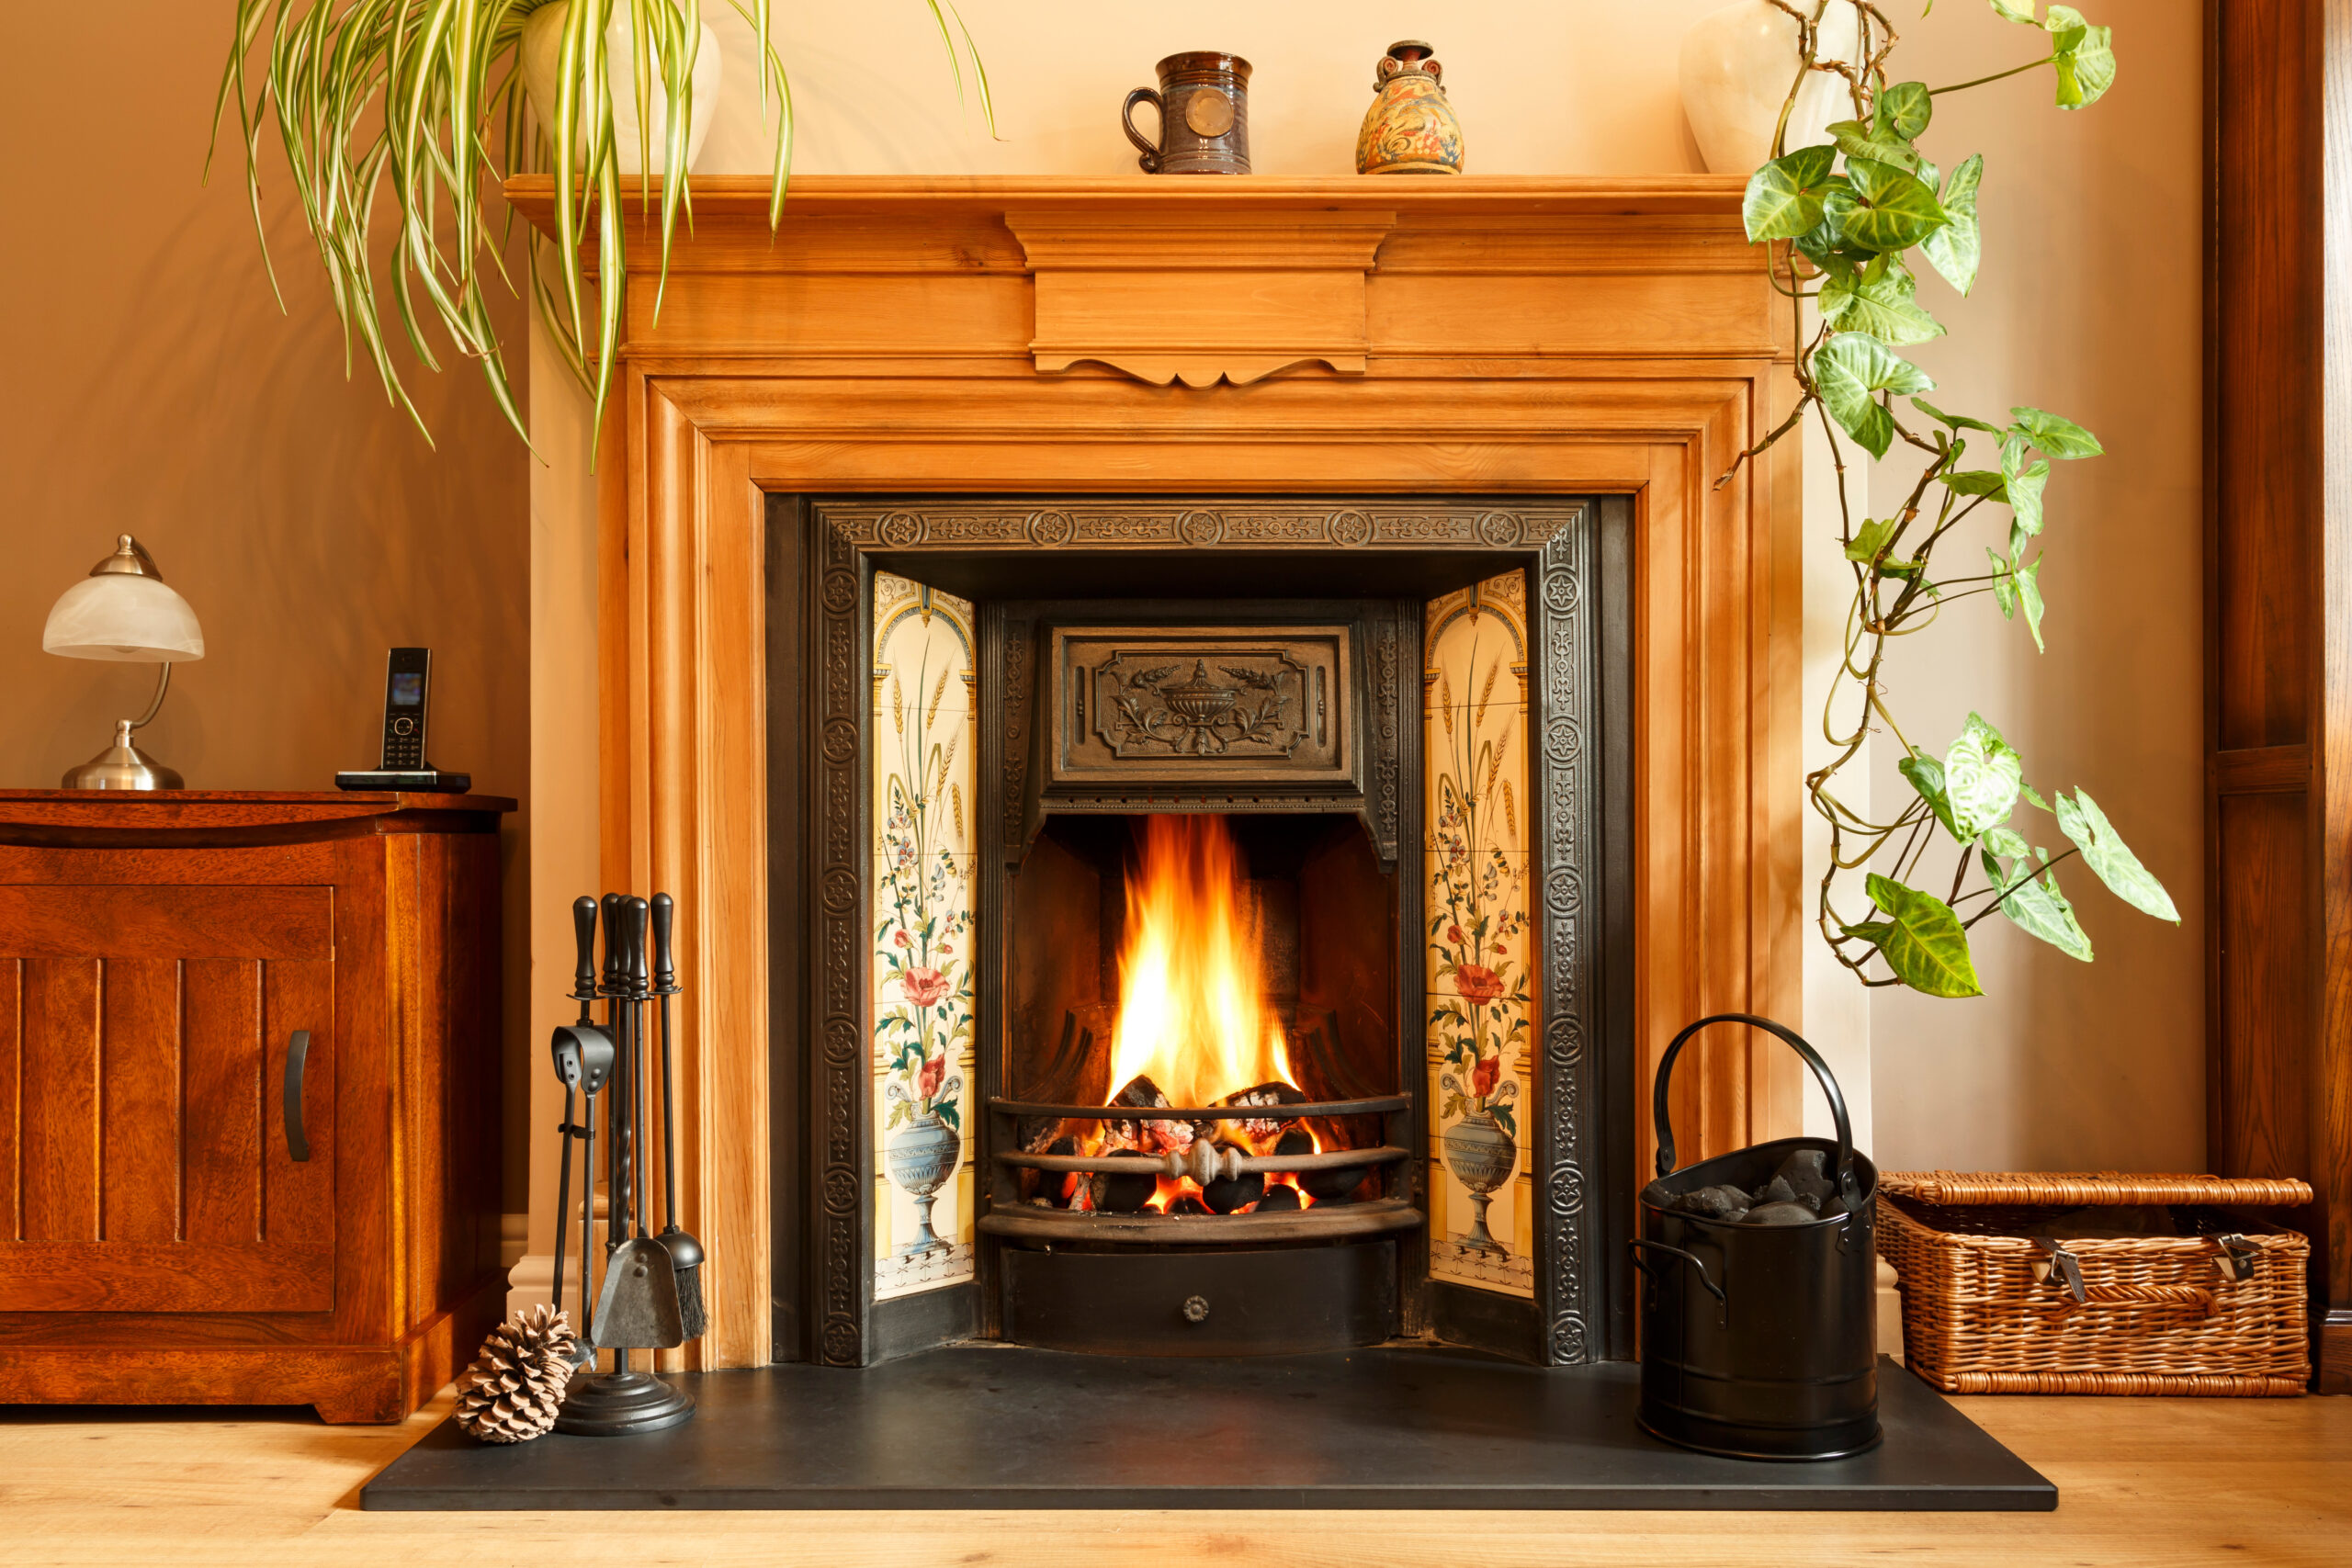
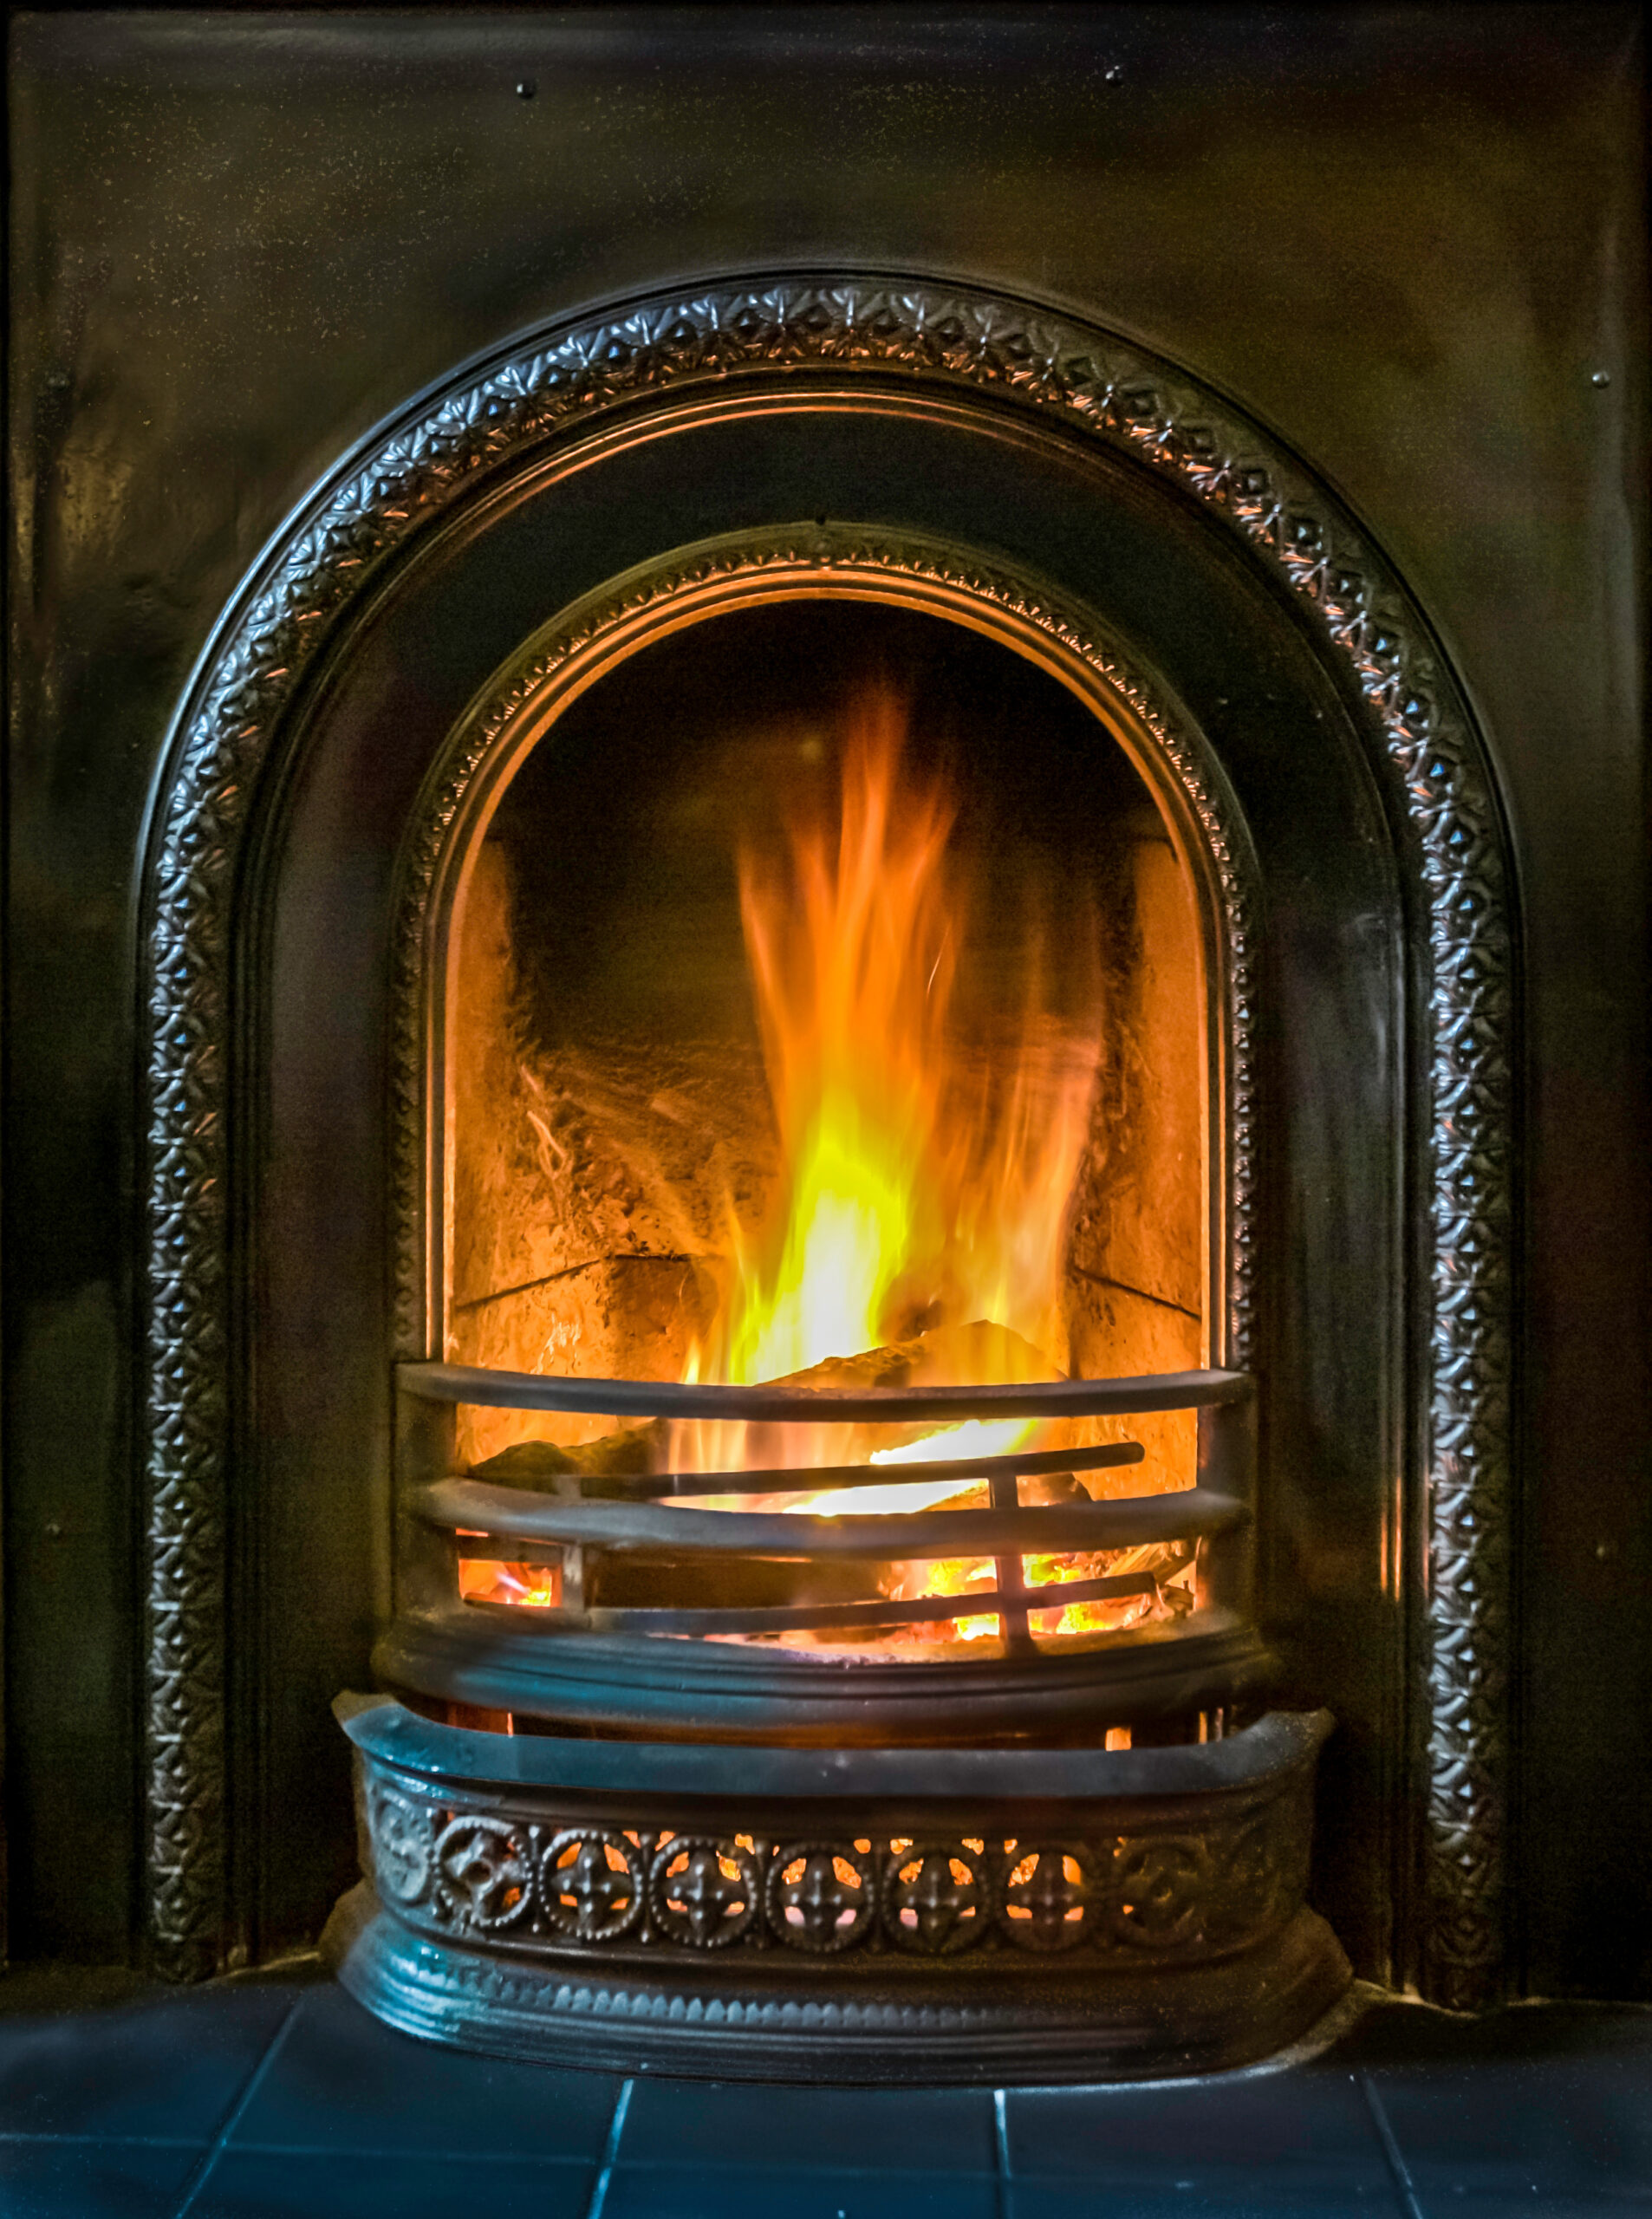
The Victorian fireplace is an iconic gem from the 19th century. Back then, the fireplace served as a household's primary heat source. And they didn't do clean lines and sleek minimalism back then. Oh no, these fireplaces are often a maximalist's dream – adorned with intricate ironwork and gorgeous patterned tiles.
Victorian fireplaces were typically cast iron – which is still prevalent in fireplace and stove construction today. Not only is it really durable, but it also allows for stunning detailing. Victorian fireplaces were often painted black, adding to the striking appearance. Hearth tiles also began to play a more prominent role, usually made from ceramics with various vibrant patterns and colours.
Tiles weren't just there for the heat-resistant qualities. They were a canvas for displaying the owner's personal tastes and artistic trends. Geometric designs, nature-inspired motifs, and even scenes from mythology and history were commonly featured on Victorian fireplace tiles. The elaborately adorned fireplace became the centrepiece of the parlour, catching the eye and sparking conversations.
Over time, as central heating systems evolved, the functional need for fireplaces began to fade away. However, even in 2023, where we're spoiled for choice regarding ways to heat the home, we all love a good fireplace. Victorian fireplaces might no longer be essential for keeping your home warm. Still, they have a new purpose – keeping a beautiful piece of history alive in our modern homes. What could be nicer than that?
So, you want to revive an old Victorian fireplace? The first step – prepare, prepare, prepare! And just in case we haven't emphasised it enough, preparation isn't just the key to a successful restoration project – it's the lock, the door, and the entire house.
Proper planning and ensuring that you've got the right tools at your disposal will not only make the whole process more manageable, but it'll also prevent potential damage that could tarnish the antique value of your fireplace. Here are the steps you'll need to follow to prepare:
A well-stocked toolkit is your first port of call. Essential items include:
Restorations can be messy, with soot, dust, and old paint flying everywhere. Before you start, make sure your floor and any nearby furniture are fully protected by laying dust sheets. Keep your workspace well-ventilated by opening a window or exterior door, especially if working with chemicals like paint stripper.
If your Victorian fireplace was previously functional, it's essential to ensure that any utility supplies (like gas or electricity) are safely disconnected before you start the restoration. Gas, in particular, can be dangerous if not handled correctly. If you're unsure how to do this, it's best to call in a professional.
While we all want our restorations to be over and done with as quickly as possible, the truth is, restoring a Victorian fireplace isn't as quick and effortless as the Instagram before-and-afters can make it look. Be prepared for it to take some time – patience is the best virtue you can have here! Don't rush the process. Each step, from stripping paint to polishing the cast iron, needs due time to ensure the best outcome.
Don't forget to take a before picture – you might regret it if you don't later, especially if you want to show off your handiwork to your family, friends, or social media followers. Plus, documenting your process can be helpful for reference as you go through the process, especially if you need to dismantle parts of the fireplace for cleaning or repair.

With your prep setup complete and your tools in hand, it's time to start! On to step one – uncovering the beauty of your fireplace.
Restoring a Victorian fireplace begins with stripping back the layers it's been hiding under for goodness knows how long. Over the years, many of these architectural gems have been painted over, plastered around, or even boarded up, obscuring the detailed cast ironwork and vibrant tiles. Stripping the fireplace back to the original surface is crucial to the restoration – here's how to do it right.
Before you start, remember safety first – get your safety gear on before you start, and crack open that window.
To remove old paint or plaster, apply a paint stripper. There are plenty of paint stripper options available on the market. Choosing one that's gentle on antique surfaces is wise for an original Victorian fireplace.
Apply a thick layer of the stripper onto the painted areas. Depending on the product instructions, you'll need to wait a certain period for it to penetrate and break down the paint layers. This could range from a few minutes to several hours. You can apply a cover, such as cling film, to the surface to speed up the process.
Once the paint has softened, use your scraper to start gently removing it. Don't use too much force; aggressive scraping might damage the tiles or ironwork underneath. After all, you're peeling back history here – take your time, and be patient and gentle.
Some areas might need a second (or even a third or fourth) application of paint stripper. This is common for fireplaces with multiple layers of paint or incredibly stubborn patches.
With their ornate designs, Victorian fireplaces tend to have many detailed areas where paint can cling stubbornly. A smaller scraper, or even an old toothbrush, can be valuable for reaching all the nooks and crannies.
As you work through removing the paint, keep a bucket of warm water and a cloth nearby to wipe away excess paint stripper as you work. This will help you keep the area clean while giving you a clearer view of your progress.
As you slowly but surely strip the layers away, you'll start to uncover the hidden beauty of your Victorian fireplace. Bit by bit, the intricate ironwork and potentially vibrant tiles will emerge, setting the stage for the next steps.

Once you're finished with the stripping process, your fireplace may look worse for wear. But don't panic – this is perfectly normal! The next step of a good old deep cleaning is to eliminate any lingering dust, soot, grime, and residual paint or stripper.
Thoroughly cleaning your fireplace is necessary – don't skip or rush it! It will visually enhance the fireplace and is crucial for any repair work. Here are the steps to follow when cleaning your fireplace:
You'll need your trusty stiff brush, a bucket filled with warm soapy water, and a cloth or sponge for this step. Choose a mild, non-abrasive soap that won't risk damaging the fireplace surface. And don't forget your gloves – this can be a messy job.
Use your stiff brush to remove dust and debris from the fireplace's surface. Pay close attention to the corners and any detailed crevices, as dust loves to settle in these hidden spots.
Next, dip your sponge or cloth into your soapy water bucket and gently wash the fireplace. Start from the top and work your way down to prevent dirty water from streaking over the areas you've already worked hard on. Use your brush to scrub away any stubborn grime that a cloth struggles to shift, especially around the fireplace opening and grate, which are often the sootiest areas.
Once you've given your fireplace a good scrub, use a clean, wet cloth to rinse the soap off. You should rinse and repeat several times during this process until all the soap has been removed.
Then, dry the fireplace thoroughly using old towels or rags. Ensure it's completely dry – any wet patches will increase the risk of rust forming on the cast iron. Towel off as much water as you can, and then leave the fireplace to air dry for a few hours.

Given the age of these architectural beauties, it's not uncommon to find cracks, rust, or loose tiles on an original Victorian fireplace. Repairing these issues will return your fireplace to its former glory while ensuring its longevity and safety.
Look over every inch of your fireplace for any signs of cracks. While it's a very durable material, cast iron can crack due to thermal stress or physical impact over time. And the cast iron used for your original Victorian fireplace might be over a hundred years old! Small hairline cracks might not pose a significant issue, but it's still a good idea to keep an eye on them.
Repairing small cracks: If you find any minor damages, you can fix them with a heat-resistant adhesive or a mixture of lime and silver sand, applied with a small brush or a pointing tool. Ensure the crack is filled completely, then smooth the surface out using a scraper. Allow the filler to dry as per the product instructions before continuing.
Repairing large cracks: Unfortunately, larger cracks are a different story. They could compromise the fireplace's structural integrity and may even pose a safety risk if the fireplace is used. It's best to seek professional advice if you find any large cracks. Depending on the extent of the damage, your fireplace may need welding. In extreme cases, it could, unfortunately, be beyond safe restoration.
Inspect your fireplace for signs of rust. If you find any, you can remove it using a wire brush. Then, treat the area with a rust-neutralising product to prevent it from reoccurring. This is an important step – especially if you plan to use the fireplace in the future, as rust will weaken the metal over time.
Victorian fireplaces often feature ceramic tiles, which can crack, become loose, or lose their lustre over time. You can easily reattach any loose tiles using a heat-resistant adhesive or grout. However, if your fireplace's tiles are cracked or badly damaged, you may need to replace them. And we have just what you need for that – our extensive collection of Victorian-style, heat-resistant fireplace tiles boasts intricate, authentic-looking designs perfect for any restoration project. Broken tiles might be a blessing in disguise, as they allow you to select ones you really love, just like the Victorians did.
Congratulations, you've made it to the final step! After stripping, cleaning, and repairing your Victorian fireplace, it's time for the grand finale – the polishing. This step is all about enhancing the natural beauty of your fireplace and protecting it for the years to come.
You'll need a specialist cast iron or grate polish to polish cast iron. You can usually find these available in either a black or graphite finish.
A black grate polish can give your fireplace a glossy finish, enhancing the detailing of the cast iron. On the other hand, a graphite polish will have a slightly more subtle effect. Both will provide protection against rusting and general wear and tear.
Before you start, make sure that your fireplace is dry. Wearing gloves to protect your hands, apply the polish to a dry cloth and then rub it onto the fireplace, following the instructions on the polish's packaging. Use circular motions and cover the entire fireplace surface, adding extra to any previously rusty areas.
For intricate details or hard-to-reach areas, you can use an old toothbrush or a small paintbrush to apply the polish. This ensures that every nook and cranny of your beautiful fireplace gets the attention it deserves.
Once the polish has been applied and has had time to dry (according to the product instructions), it's time to start buffing. Using a clean, soft cloth, rub the fireplace until it shines. This step enhances the fireplace's glow and evenly distributes polish.
There you have it – your comprehensive guide to restoring an original Victorian fireplace. The process might have been messy and time-consuming, but transforming a forgotten piece of history into a stunning centrepiece is undoubtedly worth it.
Direct Fireplaces is here to help you in your restoration journey. We offer a huge range of stunning fireplace tiles and traditional cast iron fire inserts to bring your original Victorian fireplace back to life.
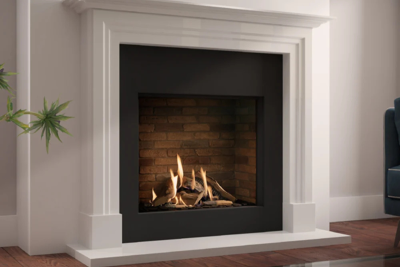
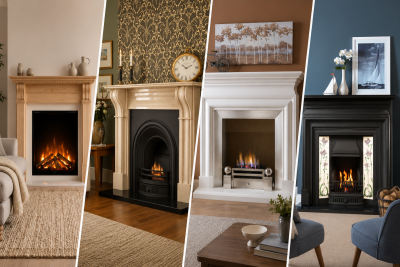
Not about that renovation life, or perhaps your original Victorian fireplace is not restorable? Then you should explore our stunning range of period and Victorian fireplaces to get the look you love without the work.
Bringing Victorian charm to your living room is easier than ever with our free next-day delivery to the UK, no-hassle returns, and a range of finance options to help you spread the cost.
Need advice? Contact our team of fireplace experts on 0161 516 0749 or email [email protected].